If your fridge feels “full,” but you still can’t find anything to cook, you’re not alone. Most spoilage happens for one simple reason: food gets lost. It slides behind containers. It gets pushed to the back. Then it quietly expires.
Fridge zoning fixes that. You assign each shelf a job, then use the right containers to make the system stick. The result is clarity—and fewer “mystery boxes” you throw away on cleaning day.
What “fridge zoning” actually means
Think of your fridge like a mini pantry with cold temperatures. Different shelves have different airflow and stability. So they’re naturally better for certain foods.
Zoning means you stop storing “wherever there’s space.” Instead, you store by purpose: ready-to-eat, cook-this-week, leftovers, dairy, sauces, and so on. Once your family learns the map, everything becomes faster.
The simple rule that saves the most money
Before we get into shelf-by-shelf layouts, follow this one rule: see it to eat it.
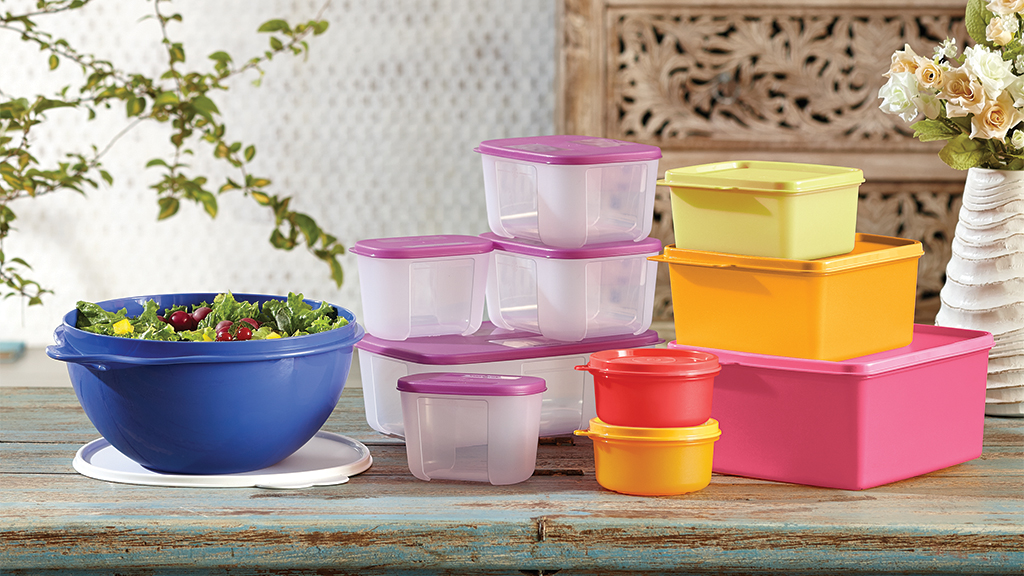
When you can see your food, you use it. When you can’t, you forget it. That’s why clear containers (or at least consistent shapes that stack cleanly) beat random bowls and mismatched steel dabba towers every time.
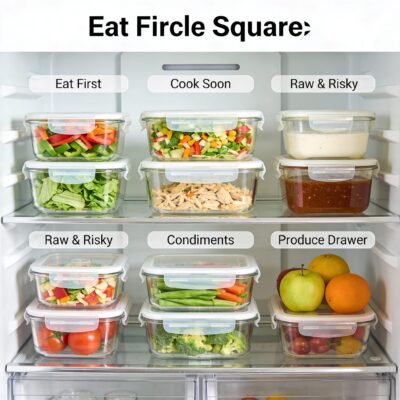
The best shelf layout (works for most Indian fridges)
Use this as your default blueprint, then tweak it for your household.
-
Top shelf: “Ready to eat” zone
-
Middle shelf: “Cook soon” zone
-
Bottom shelf: “Raw and risky” zone
-
Door: “Stable condiments” zone
-
Crisper drawers: “Humidity-loving produce” zone
Now let’s make each zone practical with Tupperware-friendly storage habits.
Top shelf: Ready-to-eat (fastest wins)
This is where you keep foods you want to finish first. If your goal is less waste, this shelf is your MVP.
Store:
-
Cut fruits, washed grapes, sliced cucumbers, sprouts
-
Meal-prep boxes, breakfast items, chutneys you use daily
-
Leftovers you plan to eat within 24–48 hours
Tupperware tip: Use medium, stackable boxes with flat lids so you can create clean layers. Keep one “Eat First” container right in front. Label it with a sticky note if you want.
Small habit: Every night, do a 30-second scan of this shelf. If something needs to be finished tomorrow, move it to the front.
Middle shelf: Cook-soon (your weekly planning zone)
This shelf is for items that are not “snacking food,” but still need priority. Think marinated paneer, boiled chana, cooked rajma, dosa batter, idli batter, or pre-cut veggies for cooking.
Store:
-
Batch-cooked bases (like tomato-onion masala)
-
Marinated proteins (paneer/chicken/fish) for next-day cooking
-
Extra curd, fresh milk packets (if you don’t use the door)
Tupperware tip: Choose containers in two or three sizes only. Consistency is everything. It keeps stacks stable and prevents the “container avalanche” that makes people avoid the fridge.
Bottom shelf: Raw + risky (contain leaks, prevent cross-contamination)
The bottom shelf is cold, and it’s the best place for raw items that can drip. This is where you want maximum containment.
Store:
-
Raw meat, fish, chicken in leak-resistant boxes
-
Opened packets that may spill (like grated cheese or wet masalas)
-
Anything you’d hate to clean if it leaked
Tupperware tip: Use a dedicated, easy-to-wipe container for raw items. Even better, put raw containers in a shallow tray-style container so spills don’t spread.
If your fridge has power cuts (common in many areas), this shelf also stays colder longer. That means it’s a safer place for sensitive items.
Door shelves: Condiments only (not milk, not leftovers)
The fridge door gets the most temperature fluctuation. It warms up every time you open it. So treat it as a “stable items” zone.
Best for:
-
Sauces, ketchup, jam, pickles
-
Vinegar, soy sauce, salad dressings
-
Water bottles (if your fridge design supports it)
Avoid storing:
-
Milk (spoils faster here)
-
Leftovers (they need stable cold)
Tupperware tip: Use slim, tall containers for chutneys and homemade sauces. They fit better and reduce tipping. Keep similar items together so you don’t buy duplicates.
Crisper drawers: Make produce last longer (without sogginess)
Most people lose veggies here because of moisture imbalance. Greens get slimy. Herbs wilt. Or everything dries out.
Use a two-drawer strategy if your fridge has it:
-
Drawer 1: High-moisture items (greens, coriander, mint)
-
Drawer 2: Low-moisture items (capsicum, beans, carrots)
Tupperware tip: For washed greens, dry them well, then store with a paper towel layer to control moisture. For cut veggies, use breathable setups only when needed; otherwise sealed containers can trap water and cause faster spoilage.
The “Leftovers lane” that ends waste
Create one dedicated leftovers lane on the top shelf or one side of the middle shelf. Then set one rule: leftovers must be in stackable containers only. No foil-covered bowls.
Make it even easier:
-
Use one container size for family leftovers
-
Use smaller containers for single portions
-
Date it with a washable marker or small sticker
When leftovers are visible, you stop ordering food “because there’s nothing at home.”
A 5-minute weekly reset (Sunday works great)
Once a week, do a quick reset. It’s not deep cleaning. It’s a mini re-map.
Do this:
-
Throw out expired items
-
Move older items to the “Eat First” container
-
Combine half-used containers (if safe)
-
Wipe one shelf (rotate shelves each week)
-
Plan 2 meals around what’s already inside
This routine alone can cut waste noticeably, especially for veggies and cooked food.
Quick “Tupperware zoning” shopping checklist
If you’re building this system from scratch, don’t buy random shapes. Buy for zones.
Aim for:
-
2–3 stackable sizes for shelves
-
1 leak-resistant box for raw items
-
1–2 slim containers for sauces/chutneys
-
1 wide container for leftovers “family portion”
Fewer types, more repetition. That’s what makes your fridge feel bigger.